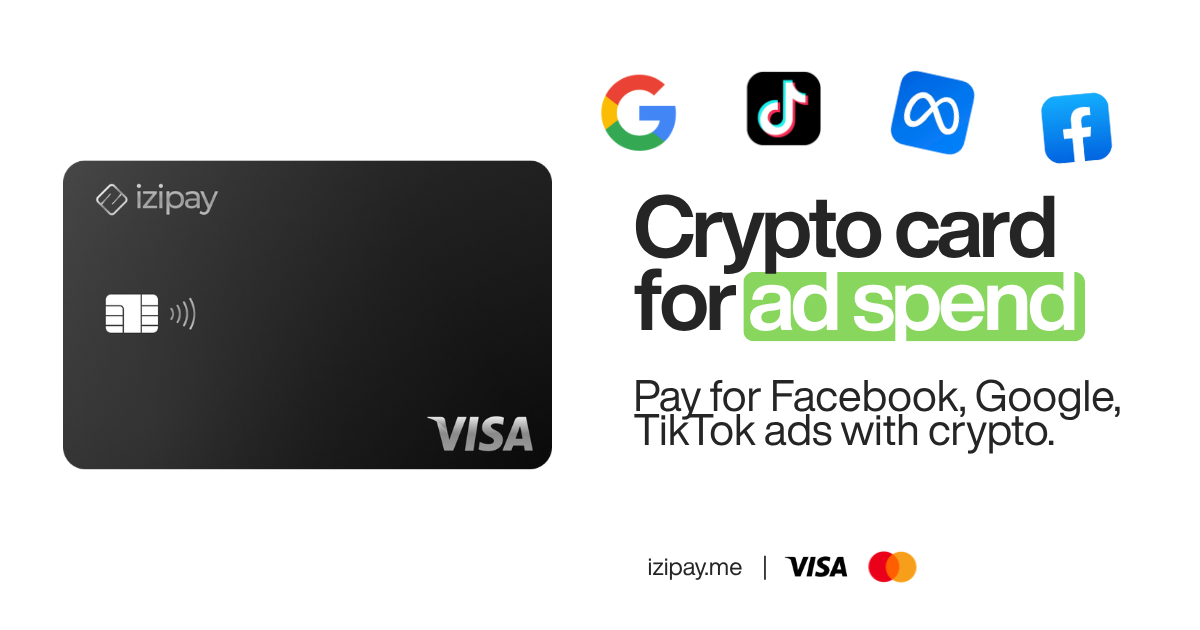
The Apple ecosystem is built to feel effortless. Once you are signed in, iCloud storage, Apple Music, App Store downloads and your subscriptions all just work. The catch is how they get paid: Apple wants a bank card tied to your real identity and a fixed billing region. For anyone who values privacy, travels between countries, or lives mostly on-chain, that single funding source becomes a real point of friction.
This guide shows how to pay for Apple services and iTunes with a crypto Visa card from IZIPAY. You fund the card with stablecoins or Bitcoin, add it to your Apple ID, and decouple your subscriptions from your local bank account entirely.
Why fund your Apple ID with a crypto card
Most people link their main checking account to their Apple ID and never think about it again. But in 2026 there are three strong reasons to switch to a crypto-funded card.
- Privacy on your statement. A dedicated virtual card keeps App Store, iTunes and iCloud charges off your primary bank statement. Your bank does not need a line-by-line record of every app, game or storage upgrade you buy.
- Region flexibility. Many users keep Apple IDs in more than one region to reach specific apps or media. A card whose billing details you control makes it far easier to match your Apple ID country without holding a local bank account there.
- Fewer surprise declines. Banks are notoriously twitchy about recurring international digital charges and often flag or freeze them. A card you top up on purpose, for this purpose, sidesteps most of that noise.
Why a premium BIN matters
Apple's billing system is picky. It quietly rejects low-trust prepaid cards because their Bank Identification Numbers (BINs) are associated with high fraud and chargeback rates. If you have ever had a generic prepaid card bounce at the App Store, that is why.
IZIPAY issues on premium Visa BINs that Apple, Stripe and other strict processors treat as ordinary bank cards. The card supports 3D Secure, so verification steps and micro-charge checks behave the way Apple expects. That is the difference between a card that gets added on the first try and one that gets declined on sight.
Just as important, IZIPAY offers a no-KYC virtual Visa: you can issue and fund a card without uploading identity documents, which keeps the whole setup consistent with the privacy you are trying to protect in the first place.
How IZIPAY compares to other funding methods
| Funding method | Works with Apple ID | Privacy | Setup friction | Region control |
|---|---|---|---|---|
| Personal bank card | Yes | Low - every charge on your statement | Low | Tied to your bank's country |
| Generic prepaid card | Often declined | Medium | Medium | Limited |
| Apple gift card balance | Yes, region-locked | Medium | Buy codes each time | Locked to one storefront |
| IZIPAY crypto Visa | Yes | High - funded from your wallet | Low, one-time | You set the billing details |
Gift cards work but trap you inside a single storefront and need constant topping up with new codes. A reloadable crypto Visa behaves like a normal card across every Apple service while keeping the funding source on-chain.
Step by step: add your crypto card to Apple ID
Here is the exact process to fund your Apple services with digital assets.
1. Issue and fund your IZIPAY card
Sign in to your IZIPAY dashboard and generate a new virtual Visa. Fund it by depositing USDT, USDC or BTC from any wallet. Your crypto is converted into a spendable balance at a flat 3% top-up fee, with $0 monthly account cost, so you are not paying to simply hold the card between purchases.
2. Align your Apple ID region
Apple is strict about regional alignment: the country on your Apple ID must match the billing country you enter for the card. If you run a US-based Apple ID to reach the US App Store, set your billing address to a US address and make sure your network location is consistent when you add the card. A mismatch here is the number-one cause of declines.
3. Enter the card in Payment & Shipping
On your iPhone or iPad:
- Open the Settings app.
- Tap your name at the top to open your Apple ID.
- Tap Payment & Shipping and authenticate with Face ID or Touch ID.
- Tap Add Payment Method and choose Credit / Debit Card.
- Enter your 16-digit IZIPAY Visa number, expiry date and CVV.
- Enter the matching billing address.
- Tap Save. Apple runs a small verification charge - usually about $1, refunded almost immediately.
4. Let it pay for everything
Once the card is linked it becomes your default funding source. Apple deducts iCloud+, Apple Music, Apple TV+, Apple One and App Store purchases straight from your converted crypto balance. Nothing else to manage - just keep the balance topped up.
Which Apple services this covers
Once the IZIPAY Visa is your default payment method, it funds the entire ecosystem rather than one storefront:
- iCloud+ storage tiers, including the higher 2 TB and 6 TB plans and Private Relay.
- Apple Music, Apple TV+, Apple Arcade and Apple News+, individually or bundled through Apple One.
- App Store and in-app purchases, from paid apps to game currency and one-off unlocks.
- iTunes media - films, TV seasons and any legacy content still billed through your Apple ID.
Because everything routes through a single funding source, you get one predictable crypto balance to manage instead of juggling separate gift-card codes per service.
Troubleshooting a declined card
If Apple refuses the card, work through these in order before assuming anything is wrong with the card itself:
- Region mismatch. The single most common cause. The Apple ID country and the card billing country must match exactly - not just the currency, the country.
- Insufficient balance for the verification hold. Apple places a small authorization (often around $1) when you add a card. Keep a few dollars of headroom so that check clears.
- Stale payment cache. If a previous card failed, remove it entirely, restart the device, then add the IZIPAY Visa fresh rather than editing the old entry.
- Address formatting. Enter the billing address in the local format Apple expects for that region, including a valid postal code.
Working through that list resolves the overwhelming majority of add-card failures.
Beyond subscriptions: Apple Pay for real-world spending
Linking the card to your Apple ID covers digital purchases, but the same card handles physical spending too. Open the Apple Wallet app, tap the + icon, and add your IZIPAY Visa for contactless payments. From there you can tap to pay at a shop, café or transit gate with your iPhone or Apple Watch - the same crypto balance funding your subscriptions now funds your day-to-day life. Google Pay works the same way on Android devices.
Keeping the balance healthy
A couple of habits keep Apple from ever interrupting a subscription:
- Top up ahead of renewal dates. Subscriptions bill on fixed cycles; a card with too low a balance at renewal will decline. A small buffer avoids a lapsed Apple Music or iCloud plan.
- Keep the billing region stable. Once your Apple ID and card billing country agree, leave them alone. Changing regions later can force Apple to re-verify payment methods.
For a broader look at using one card across every subscription and checkout, see our guide to paying for anything with a no-KYC crypto card, and if you are still choosing a provider, compare options in the best no-KYC virtual crypto card. You can also review the full virtual debit card product details before you start.
The bottom line
Apple's walled garden was designed around traditional banking, but it does not have to be funded that way. With a premium, no-KYC crypto Visa from IZIPAY, you can pay for iTunes, iCloud, the App Store and every subscription in between while keeping the money on-chain and off your bank statement. Fund once with USDT, USDC or BTC, add the card to your Apple ID, and let it run.
Ready to decouple your Apple spending from your bank? Get your IZIPAY card and fund your first subscription in minutes.